RV-9A: Left Wing Prep - 4/17/2006
Home Previous Entry Next Entry Back |
Share on:

|
|
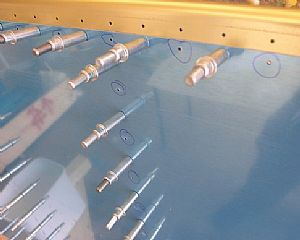 Getting ready to final drill the top skins Getting ready to final drill the top skins
Before starting the final drilling routine on the skins, I marked each un-clecoed hole with my blue sharpie. Then after I drill these holes, it's just a matter of moving the clecoes into the marked holes and drilling the rest. This way there is no confusion on whether a hole was drilled or not.
|
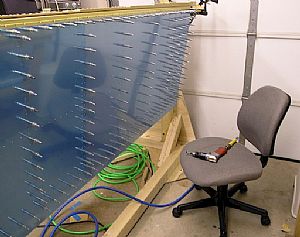 Final drilled the #40 holes on the top skins Final drilled the #40 holes on the top skins
Being the old lazy butt that I am, I decided to "borrow" my wifes office chair and gently glide my way up and down while drilling.
|
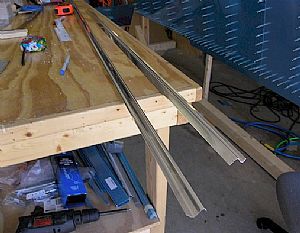 Cut the J-stringers Cut the J-stringers
There are 4 of these J-stringers that come with the kit. I cut two of them to the lengths as indicated by Drawing #9. They overlap each other inside the wing. The instructions say to: "Slip the W-926B (J Stringer) into place so that it just butts up to the edge of the W-903 skin". This has to be a typo. The W-903 skin is the outboard skin, therefore the J Stringer lays on top of the W-903 skin and then actually butts up against the W-902 skin, where the skins over lap. The outboard end of J Stringer ends up being flush with the outer end rib, otherwise it would interfere with the fiberglass tip attachment.
|
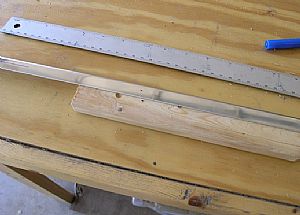 Drew the lines on the center of the flat flange Drew the lines on the center of the flat flange
The plans call for lines to be drawn on the flat flange of the J-stringers. I put marks all along the flange in the center. Then I laid the J-stringer on a 1x2 an connected the dots with my 2 foot ruler.
|
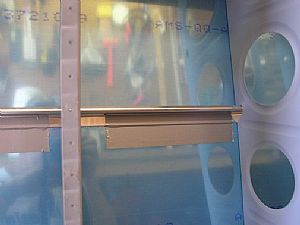 Drilled and clecoed the J-stringer to the top skins Drilled and clecoed the J-stringer to the top skins
I started with the inboard J-stringer and carefully held the end of the stringer in place and drilled one hole on the end to get things started. Then I used my special aircraft adhesive tool (duct tape) to hold the stringer in place will I drilled and clecoed the rest of the holes.
|
 Why stop now? Why stop now?
I decided to go ahead and cleco on the bottom skins. WOW, is the dude sturdy now!!! Putting on the bottom skins really tightens things up. I will start final drilling these bottom skins tomorrow.
|
Home Previous Entry Next Entry Back
|


