RV-9A: Left Wing Skins - 9/24/2006
Home Previous Entry Next Entry Back |
Share on:

|
|
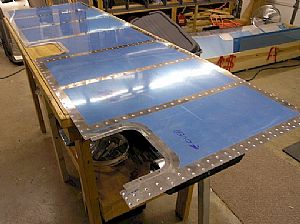 Finished deburring, dimpling and sanding the bottom outboard skin Finished deburring, dimpling and sanding the bottom outboard skin
As I've said before "Datsa' lotta' holes!". This skin is ready to put away until needed.
|
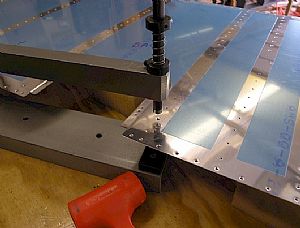 Started work on the inboard back wing skin Started work on the inboard back wing skin
Just as the top inboard skin, this skin is the same thickness as the fuel tank skin. Which means I have to get out the old C-Frame whackarama. I have a real love-hate relationship with this tool; I hate to use it and I love it when I'm through using it. Here I'm whackin' the dimples into the skin. The skin is held up with some 4 inch thick pieces of foam which are the same height as the female dimple in the C-Frame tool.
|
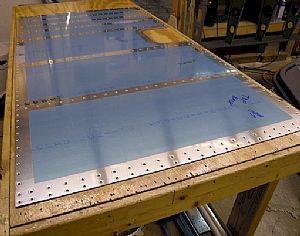 Allrighty! It's all dimpled and sanded Allrighty! It's all dimpled and sanded
As with the thick top inboard skin, I went back over some the dimples that looked like they were cratered in around the dimple and straightened them out with the pop-rivet dimpler. On to the "J" stringers!
|
Home Previous Entry Next Entry Back
|


