RV-9A: Left Wing Skins - 10/5/2006
Home Previous Entry Next Entry Back |
Share on:

|
|
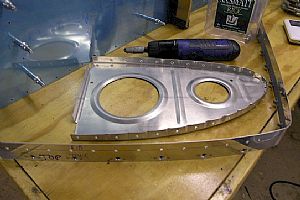
 Time to start riveting the leading edge assembly together Time to start riveting the leading edge assembly together
Well, not yet. I still have to debur and dimple all of the ribs and the wing skin. All the instructions say to do at this point is "Rivet the Leading Edge Assembly". So it's time for me use my poetic license and do my dimpling the way I want to do it. Iím going to leave the whole assembly in the wooden cradle and take the ribs out one at a time to dimple them and dimple the skin with the pop-rivet dimplers. That way I wonít have to go through the "clecoing the ribs to the skin wrestling match" again. Here I removed the end rib with the splice strip and deburred and dimples the holes.
|
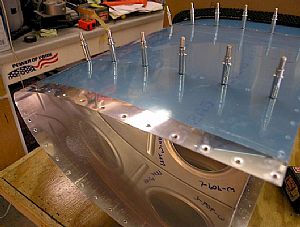
 Deburred and dimpled the skin for the first rib Deburred and dimpled the skin for the first rib
Since this skin is really thin, I can use my pop-rivet dimplers to dimple the holes. Each dimple came out perfect, no dips around the dips, if you know what I mean.
|
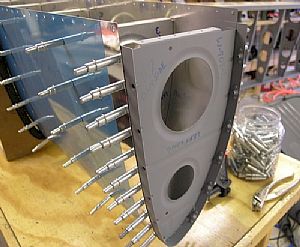
 Clecoed the first rib in place Clecoed the first rib in place
This was a little tricky, since I had to deal with putting in the splice strip between the outer skin and the rib. First, I primed the rib (primed rib, hmmm, no pun intended) and the skin where it met the rib. Then I started by putting in one cleco in the first rivet hole in the aft end of the skin, on one side, and worked my way around to the other side, one cleco at a time. Tomorrow, Iíll just work my way down the line, doing one rib at a time.
|
Home Previous Entry Next Entry Back
|
SmittysRV.com is an Amazon Associate
|