RV-9A: Right Wing Prep - 12/7/2006
Home Previous Entry Next Entry Back |
Share on:

|
|
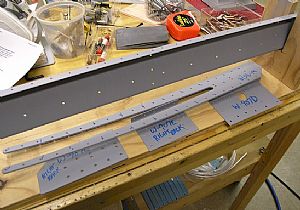 Primed the right wing rear spar parts Primed the right wing rear spar parts
After smoothing the edges of each part which the Scotchbrite wheel and some 400 grit sandpaper, I grabbed the old rattle can primer and put on a thin coat.
|
 Clecoed on the doubler plates Clecoed on the doubler plates
There are some holes in the doubler plates that won't be riveted to spar right now, so I covered them with tape to keep me from putting in any rivets.
|
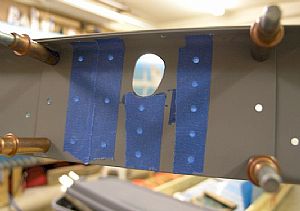
 Clecoed on the W-907B reinforcement fork and W-907C doubler plate Clecoed on the W-907B reinforcement fork and W-907C doubler plate
Same story here, I taped over some of the rivet holes.
|
 Clecoed on the outboard doubler plate Clecoed on the outboard doubler plate
Ditto on the tape thing.
|
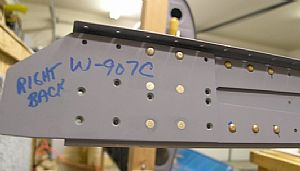
 Riveted on the outboard doubler plate Riveted on the outboard doubler plate
Once again I using the Avery pneumatic rivet squeezer. It sures makes things go a lot faster (and neater).
|
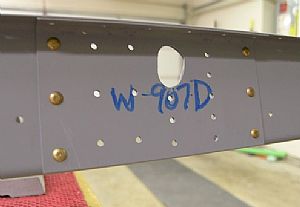 Riveted on the center doubler plate Riveted on the center doubler plate
|
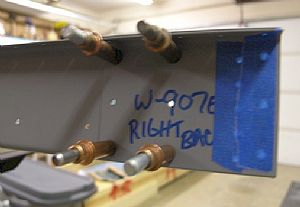
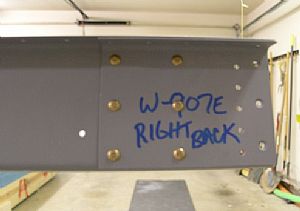
 Riveted the W-907B reinforcement fork and W-907C doubler plate Riveted the W-907B reinforcement fork and W-907C doubler plate
|
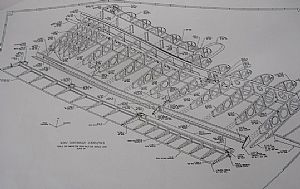 Help in reverse Help in reverse
I scanned in one of the drawings from the instruction manual showing the inner placement of all the ribs and spar in the left wing. Then I used my computer to flip the image and printed it out. This gives me visual reference on the placement of each part in the right wing. It's not that hard to read the print in reverse either.
|
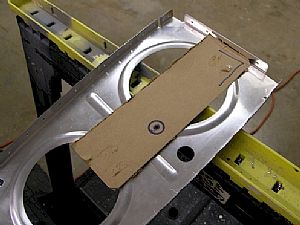 Hey, why stop now? Hey, why stop now?
I pulled out the right wing ribs and dusted off the cobwebs. The first thing that I needed to do was to drill the wiring holes in each rib. Rather than try to do figure out where each hole goes scientifically, I just grabbed a hunk of cardboard and made a template off one of the finished ribs in the left wing. After marking each rib, I used my spring punch to establish a small dent in the rib to keep the Unibit centered where the hole goes.
|
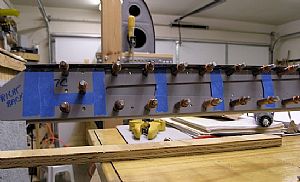
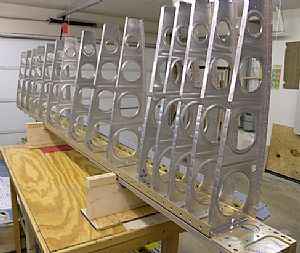 Clecoed on the ribs to the main spar Clecoed on the ribs to the main spar
Using my homemade spar cradles, I clecoed each rib into place. I'm glad I've already sanded and fluted these ribs when I did the left wing. It makes this part of the building process a lot of fun. I also noticed that I had already numbered each rib, 1 thru 15, showing the placement of each rib on the main spar. I didn't remember doing this, so I thanked myself very much.
|
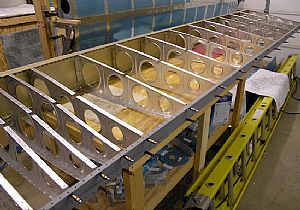 Clecoed on the rear spar Clecoed on the rear spar
After clecoing the ribs to the main spar, I laid it down on the work bench and clecoed on the rear spar. Tomorrow I wil final drill everything.
|
Home Previous Entry Next Entry Back
|


