RV-9A: Right Fuel Tank - 1/4/2007
Home Previous Entry Next Entry Back |
Share on:

|
|
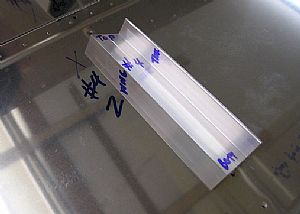 Marked the T-912 attach angles Marked the T-912 attach angles
I marked the "Z" attach angles with everything I could think of, "top", "bottom", "wing", "tank" and a number to associate the angle with it's spot on the back tank baffle.
|
 Used the W-932DG Drill Guide(s) to drill the holes on the flanges of T-912 Attach Angles Used the W-932DG Drill Guide(s) to drill the holes on the flanges of T-912 Attach Angles
Six of the seven T-912 attach angles get holes in both the flanges. The 7th angle only gets one hole. I had 2 W-932DG drill guides left over from the original 4 that came with the kit. I put a 2x4 under the flange during the drilling for some support.
|
 Marked reference lines on all the flanges centered on the 1/8 holes Marked reference lines on all the flanges centered on the 1/8 holes
I used the W-932DG Drill Guide again to make marks on the flanges on each end with a sharpie. Then it was just a matter of connecting the dots.
|
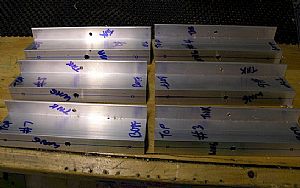 Enlarged one 1/8 hole on six of the T-912 Attach Angles Enlarged one 1/8 hole on six of the T-912 Attach Angles
I enlarged the 1/8" hole in one flange of each of six outboard T-912 Attach Angles to 3/16". The 7th bracket is not drilled out. This hole is where the brackets attach to the main spar of the wing. I left the other 1/8" hole in each bracket alone.
|
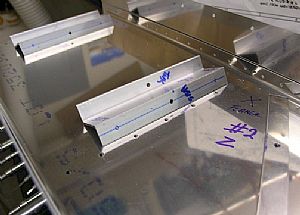
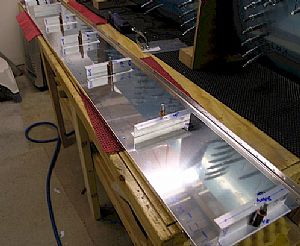 Clecoed the attach angles to the back baffle of the tank Clecoed the attach angles to the back baffle of the tank
I put on cleco in the middle hole of the angle and into the middle holes of the pre-drilled back baffle.
|
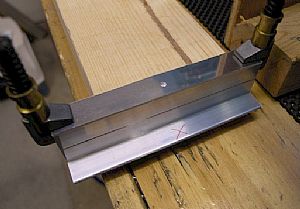
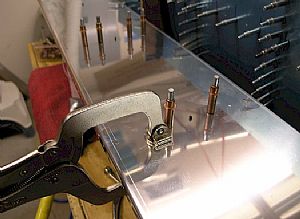 Drilled the other holes in the Z angles Drilled the other holes in the Z angles
I flipped the tank baffle over and laid it on top of two one gallon paint buckets. I positioned the angles to where I could see the lines I drew through the pre-drilled holes in the back baffle. Then I clamped the angle to the baffle and drilled the holes, putting a cleco in each hole as I drilled.
|
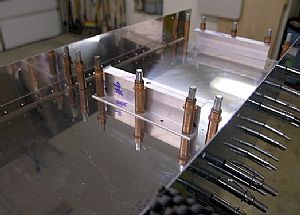 Final drilled the holes in the angles, baffle and the ribs Final drilled the holes in the angles, baffle and the ribs
Here�s where I screwed up on the left tank. I didn�t see in the instructions where it said to final drill the angles into the baffle and ribs all together. I should have known by logic to do this, but I didn�t. When it came time to put in the final pop-rivets when sealing the left tank, the pop-rivets wouldn�t go in the holes and I had drill out the holes in the angles. This dropped metal shavings into my newly sealed tank. After the proseal dried, I flushed the tank with water and got the shavings out, I think.
|
Home Previous Entry Next Entry Back
|


