RV-9A: Right Wing Skins - 4/7/2007
Home Previous Entry Next Entry Back |
Share on:

|
|
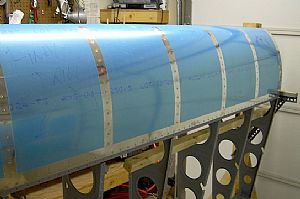 Finished riveting the leading edge to the main spar Finished riveting the leading edge to the main spar
I was able to rivet all of the ribs in but one. I put a question out on the email groups about putting in pop rivets on the unreachable rib. It's seems that on the RV-7/7A wing that pop-riveting the center rib is an OK thing to do, so I did it on my RV-9A center rib. To finish up, I used my no-hole yoke on my hand squeezer to rivet the skin to the main spar.
|
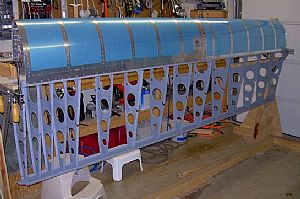 Attached the fuel tank Attached the fuel tank
What a nice fit! (If I do say so). I started out by putting all the screws, but not all the way. Then went back and starting tighting the screws along the spar and over the splice strip, making sure that the tank was seating properly.
|
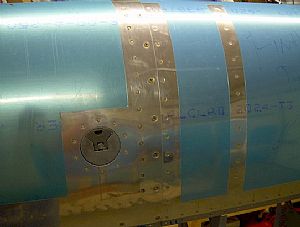 Here's the tank fit over the splice strip Here's the tank fit over the splice strip
There was a very slight bulge between 2 screws, but not enough to worry about.
|
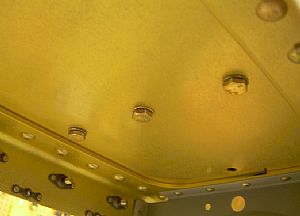 Put the bolts from the spar into the Z bracket of the tanks Put the bolts from the spar into the Z bracket of the tanks
Most of these bolts went in without any problem. But I had to drill out the hole a little for some bolts to insure that they went in straight.
|
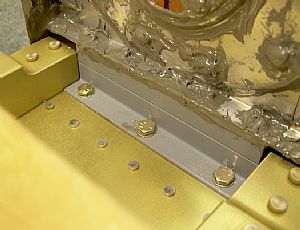 Put in the inboard Z bracket bolts Put in the inboard Z bracket bolts
This was a booger. The only tool that I could use to get these bolts in was an open end wrench, which took a long time in such a limited space.
|
Home Previous Entry Next Entry Back
|


