RV-9A: Top Skins and Baggage Area - 9/14/2009
Home Previous Entry Next Entry Back |
Share on:

|
|
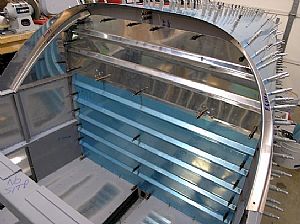
 Marked the nutplate holes on the top baggage panel Marked the nutplate holes on the top baggage panel
This part is just plain tedious. There a lot different measurements on the drawing, most of which come off an imaginary center line on the baggage panel. The majority of them are duplicate measurements off the center line, but the top center holes are not. Be careful there!
|
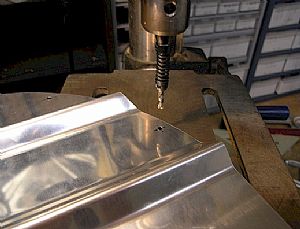 Drilled the nutplate holes into the top baggage panel Drilled the nutplate holes into the top baggage panel
Luckily the bandsaw table top as close by allow me to lay the other end of the panel on it while I was drilling these holes.
|
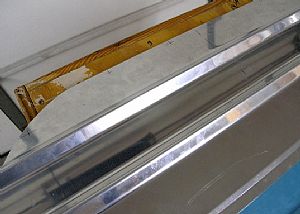
 Time to drill the nutplate holes into the F-706 bulkhead Time to drill the nutplate holes into the F-706 bulkhead
First, to make sure that I have the panel lined up, I put several screws (hand tight only!) into the bottom of the baggage panel into the fuselage bulkhead and clecoed the rest. These are the screws that will be used later when it's time to tighten things up all the way.
|
 Holding stuff in place Holding stuff in place
To make things a little easier, I got a scrap piece of aluminum and put a 1/8 inch hole in it and clecoed it over the top of the baggage panel to hold it. This keeps the panel from flopping over while I'm clecoing up the sides of the panel from the bottom.
|
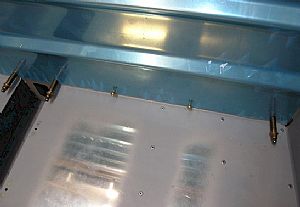
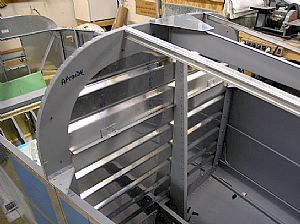
 Drilled all the nutplate holes into the bulkhead using the panel holes Drilled all the nutplate holes into the bulkhead using the panel holes
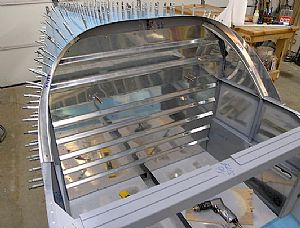
You'll notice that I put the top skins back on. This ensures that I won't put anything in a bind with the panel installation. Not necessary? Well, ya' never know...
|
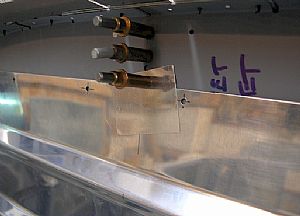
 Time to install those 21 nutplates Time to install those 21 nutplates
What? 21 nutplates?? Holy crap! Datsa' lotta' nutplates. Who needs early morning bending over and touching your toes exercises? Especially when your building an RV! Once again, I remove the top skins to make it easier to install the nutplates. Time for the skins mantra... Put em' on, take em' off, put em' on, take em' off, put em' on, take em' off, put em' on, take em' off, put em' on, take em' off, put em' on, take em' off, put em' on, take em' off, put em' on, take em' off, put em' on, take em' off, put em' on, take em' off....
|
 Same routine as the before Same routine as the before
I used the nutplate screw (hand tight only!) to line things up and then drilled the rivet holes for the nutplates. Before I started on these nutplates, I got a short cheapy plastic level and drew a line across the nutplate hole to make each nutplate level with the floor.
|
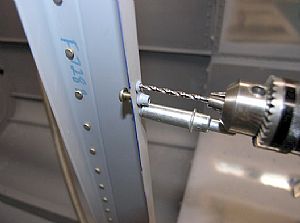 Nutplate trick for tight spots Nutplate trick for tight spots
To drill the nutplate rivet holes into this vertical rib, I put the nutplate on the outside and drilled the holes, using the nutplate as the drilling guide. What the heck, it looks pretty AC-DC to me? It will be fine, as long as I don't screw up and put the nutplate on the outside. Hee-hee...
|
 Done! Done!
It woiked!

|
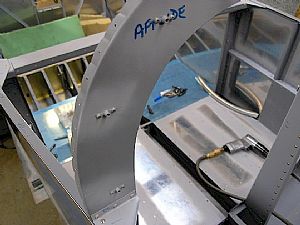
 Install the baggage bulkheads? Install the baggage bulkheads?
The instructions say to "Temporarily install the baggage bulkheads on F-706". Oh well, I guess it has something to do with lining things up while the rest of the panels get put in. I will put some of the screws in tomorrow, but only hand tight. I'll put clecos in the rest of the holes.
|
Home Previous Entry Next Entry Back
|


