RV-9A: Seats and Seat Floors - 10/19/2009
Home Previous Entry Next Entry Back |
Share on:

|
|
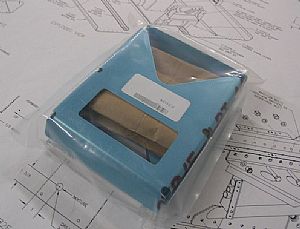 Time to start work on the Seatbelt Crotch Strap Kit Time to start work on the Seatbelt Crotch Strap Kit
Here they are folks, the Seatbelt Crotch components. I found out that I these dudes didn't come with my fuselage kit because I purchased my fuselage kit before December 2008. The floor panels have pre-cut holes in them for this kit, but no kit supplied. Weird. The pair costs 32 dollars.
|
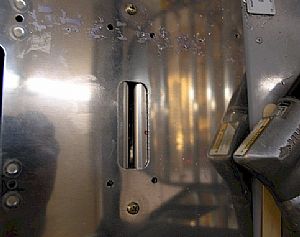
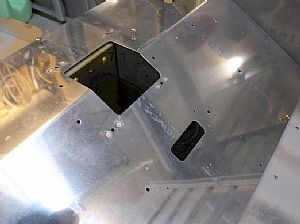 The floor panel The floor panel
Here you can see the small precut holes for the Crotch Strap kit, behind where the control stick goes. I'm glad I didn't have to cut them out.
|
 Time to get started Time to get started
Here I marked a vertical line down the side of each floor rib using a level. Then I clamped the aft bracket 3/32" back from the line, final drilled it and clecoed it in.
|
 Now to fit the forward bracket Now to fit the forward bracket
I think they made tonque depressors for RV building. I have used them quite a lot. Tonque depressors are exactly 1/16 of an inch thick. Tape 2 of them together and you have an 1/8 inch gap to set the distance between the forward and aft crotch kit brackets.
|
 Clamped and drilled the forward bracket Clamped and drilled the forward bracket
These small 2 inch clamps really come in handy, especially when you don't want whatever you're drilling to move around. I also drilled the bolt holes for the seat belts that will go in later.
|
 Time the enlarge the floor panel holes into the kit bracket flanges Time the enlarge the floor panel holes into the kit bracket flanges
This was a little tricky. The forward crotch bracket has a top flange that is flexible and moves when you try to drill a hole into it throught the floor panel. So I clamped that flange to the floor rib under the floor panel (not shown) to make sure it wouldn't move while I'm final drilling these nutplate holes.
|
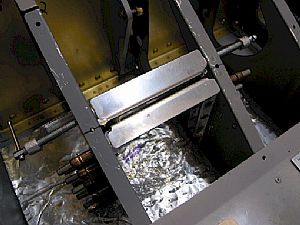
 Deburred, nutplates installed. Time to pop-rivet. Deburred, nutplates installed. Time to pop-rivet.
This is where big fat hands are a problem. I lost count of all of my "damn-its" during the installation of these brackets. Continued bending over and trying to get the $#%^ pop-rivet gun inside a small space can really get your goat. But I "gotter' dun!"
|
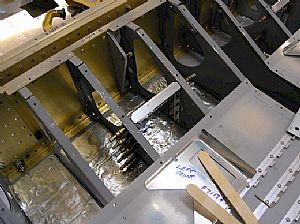
 Voila! Voila!
Here's a better shot of the whole shootin' match. Glad that's done! (Oh yeah, don't mess up on the pop-rivets, ya' only get one extra one for screw ups.)
|
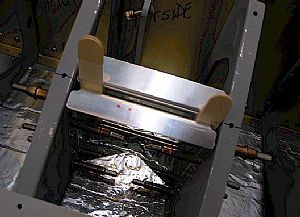
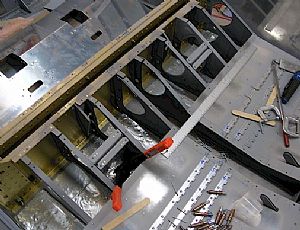
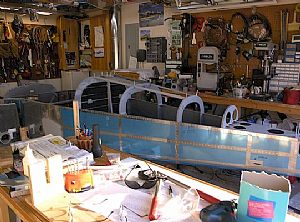 An extra shot of the mess, er... project area An extra shot of the mess, er... project area
Some people have been saying to me, "Yeah, I like looking at all your intricate work, but what does the frickin' plane look like?". So I'm going to include over all shots from now on. How's dat?
|
Home Previous Entry Next Entry Back
|


