RV-9A: Front Deck/Firewall - 5/11/2010
Home Previous Entry Next Entry Back |
Share on:

|
|
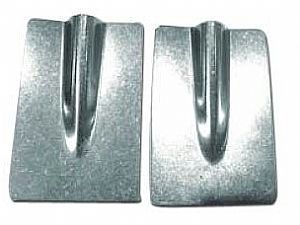 Time to install the cable cover fairings Time to install the cable cover fairings
These RV Fairings come from Aircraft Spruce. They were little twisted, so I had to do a little creative bending of the flanges to get them to lay flat.
|
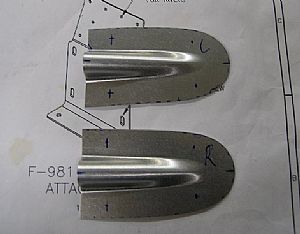 I made them a little more purdy I made them a little more purdy
I made a 1/2 inch cut around the bends to make these dudes a little more pleasing to the eye. Then I marked were the pop-rivet holes will go.
|
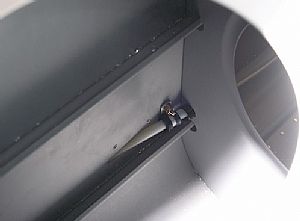 Put in the clamp to hold the cable hose Put in the clamp to hold the cable hose
Since I have the horizontal and vertical stabilizers installed, it made this a really tough clamp to install. My son had to help guide me in putting the washer an nut on, since I couldn't get a visual of anything. After about twenty minutes of verbal RV bashing, we gotter' done.
|
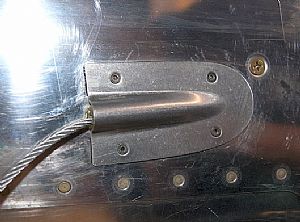 Cover plates are on Cover plates are on
I have to say that these plates turned out really nice. I dimpled the rivets holes in the plates and the fuselage and then put some Proseal on the flanges of the cover to prevent water from getting inside the fuselage.
|
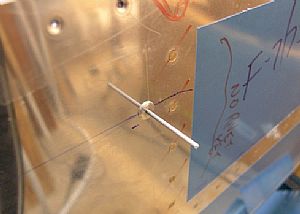 Time to install the static kit Time to install the static kit
Here I've installed the pop-rivet portion of the kit. I pulled the handle on the pop-rivet gun until the flange of the static port fit snug against the fuselage skin and then stopped, leaving the nail inside the pop-rivet.
|
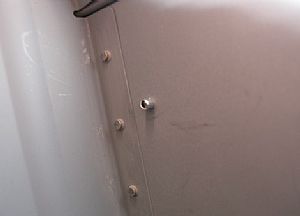 Here's the flip side Here's the flip side
|
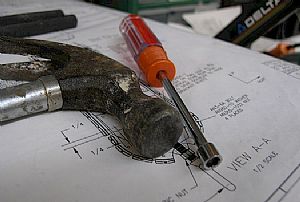 Now to remove the nail from the pop-rivet Now to remove the nail from the pop-rivet
What? A hammer? You betcha... I also grabbed my 1/4 nut set. Stay tuned...
|
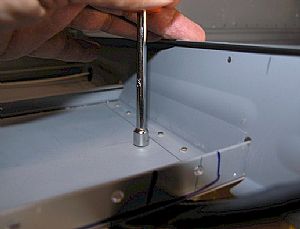 Supporting the pop-rivet and the fuselage skin Supporting the pop-rivet and the fuselage skin
I've learned from past experiences that the aircraft aluminum skin bends and dents if you breath on it too hard. So I needed a way to support the pop-rivet so I could tap on it from the other side to get the nail out. The outer edge of the 1/4 inch nut set is the same size as the pop-rivet outer edges. So pushing against the pop-rivet with the nut set while hammering the nail from the other side will prevent the skin from getting dented.
|
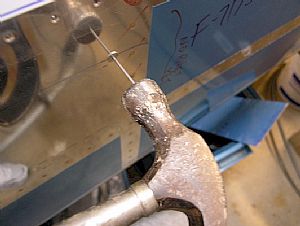 Drive that nail! Drive that nail!
Gently though. As soon as the nail broke free from it's bond to the pop-rivet head, I stopped pounding and pulled the nail out with a pair of pliers.
|
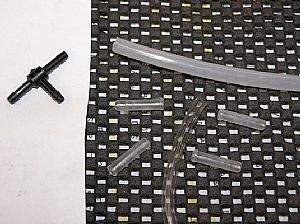 Here we go again. Here we go again.
The instructions aren't much help here. I need to install the rubber tubing, but don't know If I'm supposed to use these hard little plastic dodads on the black "T". As far as I can tell they aren't mentioned in the plans. I'm headed back to Doug Reeves wonderful website for help!
Update: 5/16/2010 - Turns out that those little dodads are for the big white fittings that go in the front of the airplane. So the clear tubing goes straight on to the black "T". A small piece of the clear tubing goes on one outlet of the "T" and the bigger tubing goes over top of the clear small piece.
|
Home Previous Entry Next Entry Back
|


