RV-9A: Rudder - 10/30/2005
Home Previous Entry Next Entry Back |
Share on:

|
|
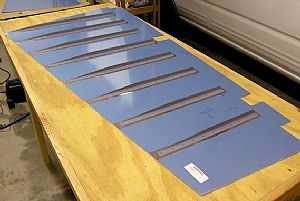
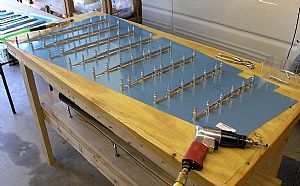 Final drilled the stiffeners to the right rudder skin Final drilled the stiffeners to the right rudder skin
Because of space issues, I have decided to do one side at a time. Here I final drilled the stiffeners into the skin and clecoed everything down to the work table.
|
 Deburred the skin holes Deburred the skin holes
The instructions said to be careful here. Since the rudder skin is so thin, a light and short deburr is required.
|
 Finished the stiffeners and dimpled them. Finished the stiffeners and dimpled them.
This time I decided to sand and scotchbrite the stiffeners for priming before dimpling. UPDATE 4/10/2006: Here's where I get confused. I was surrounded by 3 RV builders and an A&P yesterday who told me I was nuts for using the Scotchbrite pad on the ribs and spars. The instructions on the self-etching spray can say to rough up the surface so the primer will adhere. These guys told me by doing that I was removing the alclad coating that naturally protects the aluminum from corrision. They also said that since I primed over where I had scotchbrited, I was OK. The primer will protect the part. They said that I only need to put primer where the ribs, spars and skins meet other. In the future I am still going to prime the whole spar or rib, but I will not be rubbing the whole spar or rim down with a scotchbrite pad before priming.
|
 Dimpled the right rudder skin Dimpled the right rudder skin
I am using the Avery Pop-Rivet dimplers to set the dimples for the flat head rivets that hold the stiffeners in place. It is slow going, but so am I. I have to say that I feel more in control in the dimpling process using the Pop-Rivet dimpler, instead of whacking the aluminum with a hammer using the traditional "C" Frame dimpler.
|
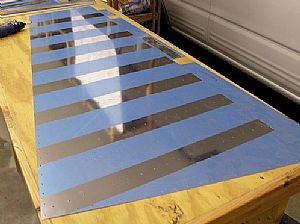
 Primed the stiffeners for the right rudder skin Primed the stiffeners for the right rudder skin
Time to do that back rivet thang.
|
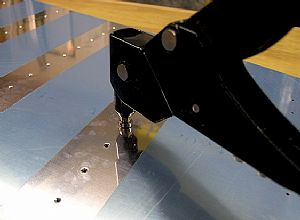
 Riveted on the stiffeners to the right rudder skin Riveted on the stiffeners to the right rudder skin
Using a back riveting tool that I got from Averys, I riveted on the stiffeners to the rudder skin using the back rivet board that I built.
|
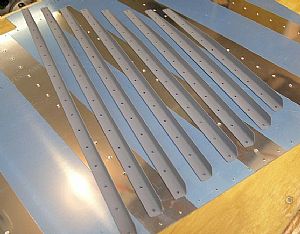
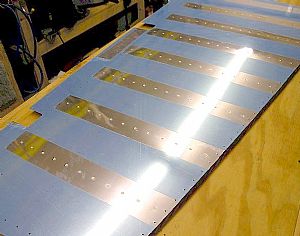 On the flip side On the flip side
Couldn't ask for anything better. I'm really happy with this riveting job.
|
Home Previous Entry Next Entry Back
|


