RV-9A: Left Fuel Tank - 5/3/2006
Home Previous Entry Next Entry Back |
Share on:

|
|
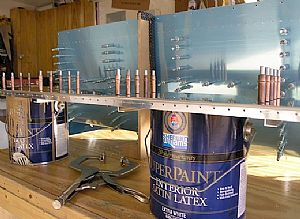
 Used the W-932DG Drill Guide(s) to drill the holes on the flanges of T-912 Attach Angles Used the W-932DG Drill Guide(s) to drill the holes on the flanges of T-912 Attach Angles
6 of the 7 T-912 attach angles get holes in both the flanges. The 7th angle only gets one hole. There are 4 W-932DG Drill Guides in the kit. I supposed that's because they tend to wear out during the drilling. I used 2 of the 4 drill guides on this tank. I'll use the other 2 on the other tank, when I get to it. I put a 2x4 under the flange during the drilling for some support.
|
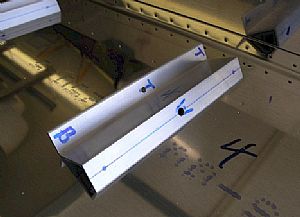
 Marked lines on all the flanges centered on the 1/8 holes Marked lines on all the flanges centered on the 1/8 holes
I used the W-932DG Drill Guide again to make marks on the flanges on each end with a sharpie. Then it was just a matter of connecting the dots.
|
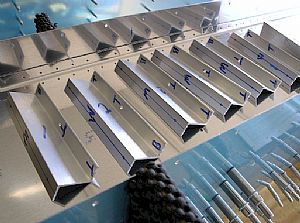
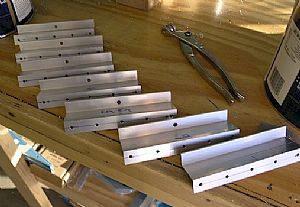
 Enlarged the 1/8 hole on 6 T-912 Attach Angles Enlarged the 1/8 hole on 6 T-912 Attach Angles
I enlarged the 1/8" hole in one flange of each of six outboard T-912 Attach Angles to 3/16". The 7th bracket is not drilled out. This hole is where the brackets attach to the main spar of the wing.
|
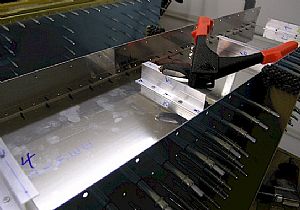
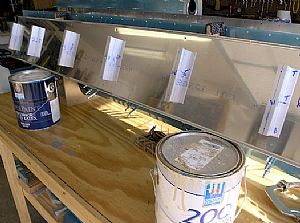 Clecoed the attach angles to the back baffle of the tank Clecoed the attach angles to the back baffle of the tank
It's time to back drill the rest of the holes in the attach angles using the baffle as a drill guide. I saw on Mike Schippers website where he put put some buckets under the baffle to hold it up allowing this job to be a lot easier.
|
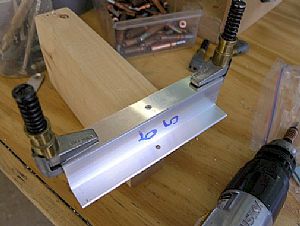
 Back drilled the attach angles Back drilled the attach angles
All I had to do here was line up the marks I made on the attach angle flanges to the holes in the tank baffle. I held the angles in position using this cool vise grip I got at Lowes (Aircraft Supply and Lumber).
|
 Voila! Voila!
Hey, the holes line up! That's a good thing.
|
 Temporarily pop-riveted the attach angles to the tank assembly Temporarily pop-riveted the attach angles to the tank assembly
I clecoed the 2 end ribs of the tank assembly to the outer attach angles from the inside. Then I put these temporary pop-rivets in 2 holes on each bracket. I had to grind down the top of the pop-rivet gun to get it into position. UPDATE 8/20/2006: Apparently I forgot to final drill all the holes from the Z brackets, through the baffle and into the ribs. When it came to time to put in the final pop-rivets when sealing the back baffle, I had to drill out the holes because the pop-rivets wouldn't go into the holes. This made a mess in the tank, which requires waiting for the proseal to set and flushing out the tank with lots of water.
|
Home Previous Entry Next Entry Back
|


