RV-9A: Right Fuel Tank - 1/1/2007
Home Previous Entry Next Entry Back |
Share on:

|
|
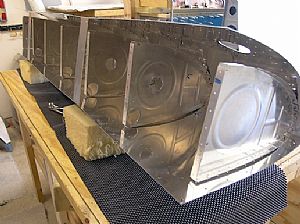 Started work on the right fuel tank Started work on the right fuel tank
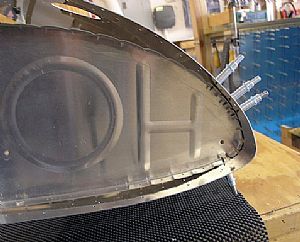
I started by removing the blue plastic film from inside the right tank skin. Then I figured out where each rib went and put one cleco in the front hole of each rib on the bottom. Then, as shown in the photo, I pulled the skin together with some duct tape so I could start putting in clecos on the top side of the skin.
|
 Put in three clecos in each rib on top Put in three clecos in each rib on top
I started by putting in one cleco in the second hole of each rib down the line. Then I went back and put in two more clecos in the first and third holes on each rib.
|
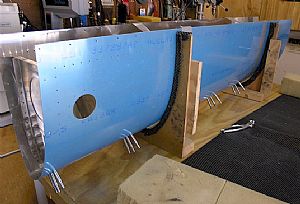 Plopped that dude into the tank cradle Plopped that dude into the tank cradle
Now I'm ready to put in all the clecos, starting at the front and working my aft.
|
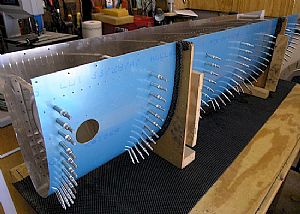 Done! Done!
After putting in each cleco, I would wiggle the previous cleco a little bit and it "pop" tightly into position. Now for the tank stiffeners.
|
Home Previous Entry Next Entry Back
|


