RV-9A: Ailerons - 5/1/2007
Home Previous Entry Next Entry Back |
Share on:

|
|
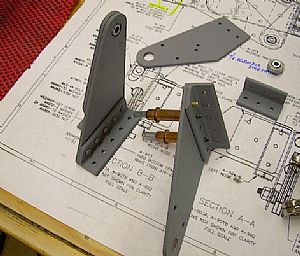
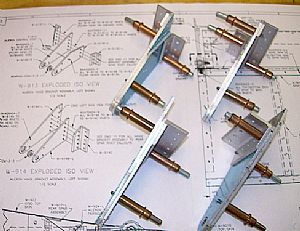 Started work on the aileron bracket assemblies Started work on the aileron bracket assemblies
I found all the parts and clecoed each bracket together. I couldn�t find the angle piece AA6-125x1x1 which makes the aileron stops. I ordered some 1 inch and 7/8 inch Delrin Rods from Aircraft Spruce to use instead of the aileron stops. You can see a write-up on the Delrin Rod Aileron Stops HERE. I�m sure that the 7/8 inch rods will work, but I ordered a 1 inch also just to cover my butt.
|
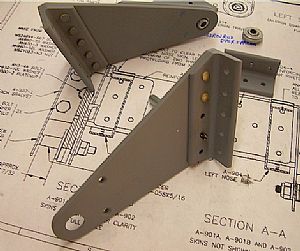
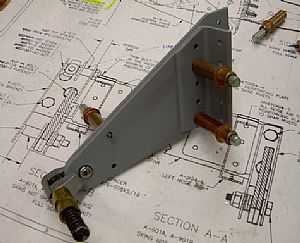 Started assembling the outboard brackets Started assembling the outboard brackets
After countersinking the holes directly behind the bearing and priming the parts, I clecoed everything together.
|
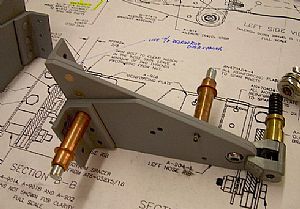
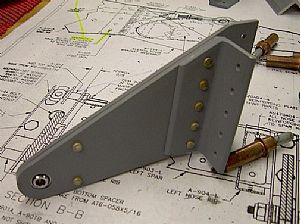 Riveted the outboard brackets together Riveted the outboard brackets together
I used my small no-hole yoke on my pneumatic squeezer to rivet everything together. I put the manufactured head of the rivet on the opposite side of the angle piece when riveting the angle on. This made positioning the rivet squeezer much easier.
|
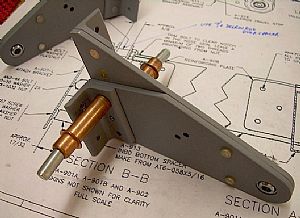
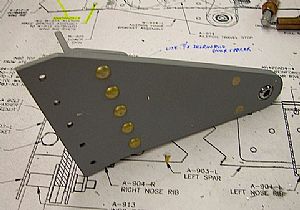 Here�s a shot of the flip side Here�s a shot of the flip side
|
 Started riveting the inboard aileron brackets together Started riveting the inboard aileron brackets together
Started riveting the inboard aileron brackets together
As you can see here, I've already finished one (practice piece, don't cha' know). I started by clecoing one of the main longer pieces (W-914) with the 2 countersink holes to the long angle piece. On the previous bracket, I put the hole bracket assembly together at one time and found it really hard (damn near impossible) to get these 2 rivets in.
|
 Riveted on the W-913 long angle piece Riveted on the W-913 long angle piece
This takes care of the hard-to-get-to countersunk rivets.
|
 Clecoed on the rest of the parts Clecoed on the rest of the parts
You can see here how hard it would be to get to the previously mentioned rivets.
|
 Riveted the aft rivets first Riveted the aft rivets first
This are the flat rivet heads for the countersunk holes.
|
 Getting ready to rivet the last 3 rivets Getting ready to rivet the last 3 rivets
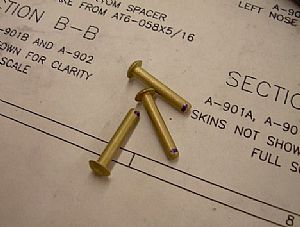
The drawing called out for 3 AN470D4-11 rivets. I looked in all the bins and couldn�t find those rivets anywhere. So I decided to use some AN470D4-12 rivets. I grabbed my needle nose pliers and sanded off a little of the ends of each rivet on the bench sander to get the AN470D4-11 to size I needed.
|
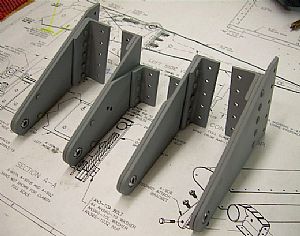 All done! All done!
These brackets turned out really nice.
|
Home Previous Entry Next Entry Back
|


