RV-9A: Rod's and ends - 1/16/2008
Home Previous Entry Next Entry Back |
Share on:

|
|
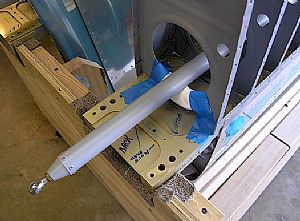 Laid the large pushrods inside the wings Laid the large pushrods inside the wings
I taped some paper towels to a couple of ribs and layed the pushrod inside wing. I'm pretty much clueless about how this whole thing goes together. I wish the instructions would tell you when to final tighten things. It's pretty vaige on this whole operation.
|
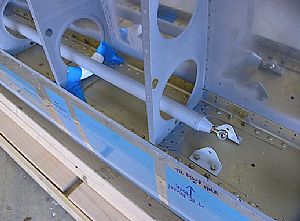 Here's the other end Here's the other end
|
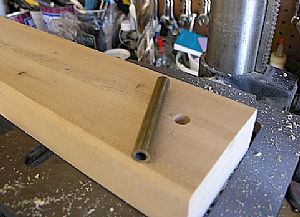 Time to ream out the brass bushing for AN4 bolt. Time to ream out the brass bushing for AN4 bolt.
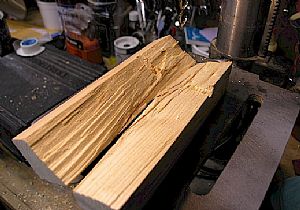
The bell crank will swivel on this dude. I have to drill out the middle so a 1/4" AN4 bolt can go inside it. I measured the outside diameter of the bushing and found that it was the same size as a 25/64" drill bit. So I drilled a hole in a short hunk of 2x4 to hold the bushing for me while I drill the inside out.
|
 Preparing the bushing for 'non' movement Preparing the bushing for 'non' movement
I took two pieces of painters tape and wrapped it around the bottom end of the bushing.
|
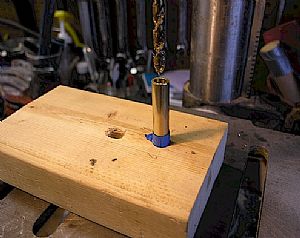 Ready for drilling! Ready for drilling!
I used my rubber mallet to drive the bushing slowly into the hole of the 2x4. The rubber mallet won't mess up the bushing. I knew I had a good fit, because it took quite an effort to get it into the hole.
|
 Done! (on one of them anyway...) Done! (on one of them anyway...)
I set my drill press on its slowest speed and put Boelube on the bushing and the drill bit and started drilling really sssssslllllooooooooowwwwww. After getting the hole more than half way, I freed the bushing from it's 2x4 collar by splitting it down the middle with a large screw driver and a hammer. Then I went through the whole process again for the other side.
|
 Trying to figure which way is up, down, left and right Trying to figure which way is up, down, left and right
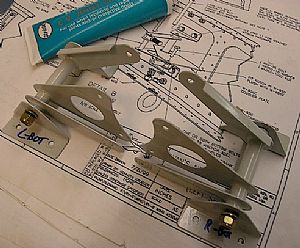
I put these guys together in an effort to pre-assemgle stuff before putting the bell crank on the spar. One bell crank is marked "R" and goes on the left wing, and the other bell crank is marked "L" and goes on the right wing. The logic for these markings eludes me. I reallly had to "persuade" the AN4 bolt to go inside the bushing I drilled earlier. I put some grease on the outside of the bushing and slid on the bell crank.
|
 Bolted the bell crank assembly to the wing spar Bolted the bell crank assembly to the wing spar
I'm glad I didn't tighten down the 2 stell angle spar brackets down all the way back when I was working on the wing spars. I wish the instructions had said that these dudes don't need to go on until now. I know a lot guys who tightened these metal angles down to the spar when they were putting the wing together, thinking they could get the bolt in later. NOT!
|
Home Previous Entry Next Entry Back
|


