RV-9A: Top Skins and Baggage Area - 9/8/2009
Home Previous Entry Next Entry Back |
Share on:

|
|
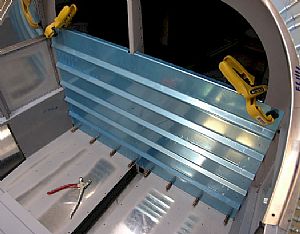 Started working on the F-751 and F-652 corrugated baggage bulkheads Started working on the F-751 and F-652 corrugated baggage bulkheads
I started by clecoing the bottom corrugated bulkhead to the F-706 bulkhead. This piece is easy because the holes to be drilled into the F-706 bulkhead on each side are pre-drilled. BUT, the top corrugated bulkhead isn't predrilled. Which makes drilling all the nutplates holes pretty tough, since you have to somehow hold the top bulkhead in place to drill the nutplate holes. Forget that! I removed the bottom bulkhead and took both bulkheads over to the work bench. If you're going to put a new door on the barn, you build the door first!
|
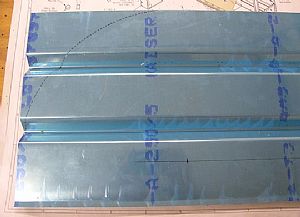 Time to trim the F-652 Time to trim the F-652
Pretty easy task. I used my ruler to make small dashes from a given point to draw the curve to be cut.
|
 Next. Drill the holes where the seat belts cables come through Next. Drill the holes where the seat belts cables come through
I used my Unibit (otherwise known as a step drill bit) on the drillpress to make two 3/8" holes in the F-652 upper bulkhead. I remembered to set the drillpress on it's slowest speed to drill these holes. A Unibit on a fast drilling speed will rip the snot out of your material!
|
 The top bulkhead is now trimmed The top bulkhead is now trimmed
I also used my bandsaw to cut the two slits up to the 3/8 inch holes I drilled earlier.
|
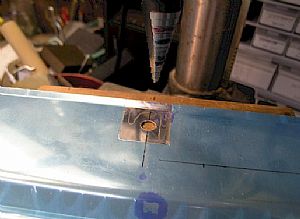
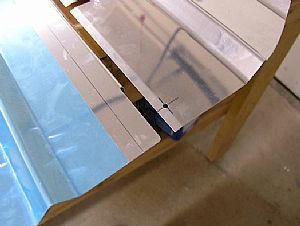 Now for the barn door Now for the barn door
I plan to drill holes in both the F-751 and F-652 corrugated baggage bulkheads where the nutplate screws go and cleco them together. Here I've drilled the hole for the nutplate screw and drawn a 5/8 inch line across the F-751 bottom bulkhead. Next, I will tape the top F-652 bulkhead to the F-751 bottom bulkhead, following the line I drew on the bottom bulkhead.
|
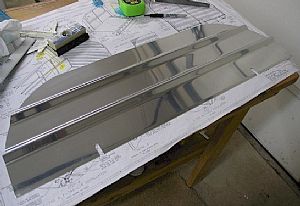
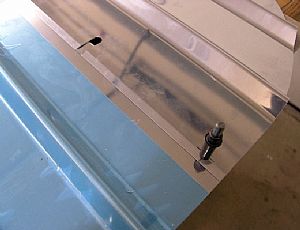 Done! Done!
Now both top and bottom bulkhead are clecoed together. Next I will drill the nutplate holes on each side of the seat belt cable slots, but only the top bulkhead. Then I'll use those holes as a jig to drill the bottom bulkhead holes.
|
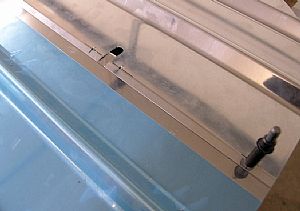 Ready to drill the bottom bulkhead using the top bulkhead drill holes Ready to drill the bottom bulkhead using the top bulkhead drill holes
|
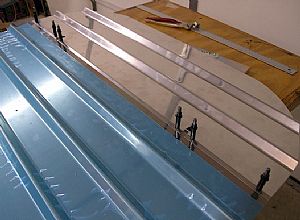 The barn door is now drilled and clecoed into one panel The barn door is now drilled and clecoed into one panel
This will make it easier to put in the rest of the hardwear, like the cable wear blocks.
|
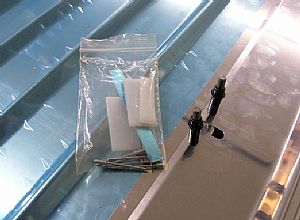 Next, the cable wear blocks Next, the cable wear blocks
I will work on these guys tomorrow. These hard plastic blocks surround the seatbelt cables, preventing them from digging into the surrounding sheet metal. Oh, by the way, the cable wear blocks were in the plastic bag that holds the seatbelt cables.
|
Home Previous Entry Next Entry Back
|


