RV-9A: Top Skins and Baggage Area - 9/20/2009
Home Previous Entry Next Entry Back |
Share on:

|
|
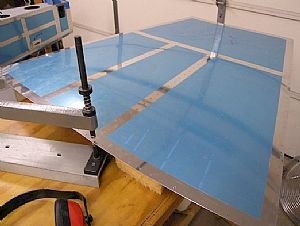
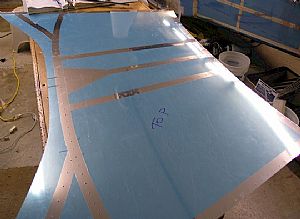 Time to dimple the rear top skins Time to dimple the rear top skins
Time for soldering iron and blue film therapy! Sometimes I wonder why I go through being so meticulous about removing the blue film this way with such care and perfection. I sure leaving some of blue plastic film on is somewhat protective for preventing deep scratches, but that is about it.
|
 Time for dimpling Time for dimpling
Oh boy, I get to rant and rave again about dimpling! Number 1 - You don't need a dimpling table, just get some 4 inch pieces of foam to hold the skin where you want it and slide the C Frame dimpler where you need it. Too many times, I've seen guys build an elaborate table top with a little hole in the middle for the bottom dimple to pop through and they end up putting a dip in the skin because the sheet aluminum goes down into the hole in the table when they whack the dimple. Doh! Number 2 - One solid whack is all you need for each dimple. If you whack a single dimple multiple times, you get a dip around the dimple in the skin. If you're not sure what will happen with the sheet your dimpling, get a practice sheet that is the same thickness from the tailkit practice packet and try it out first. Yeah I know, I'm a grumpy old fart, jes' ask my wife.
|
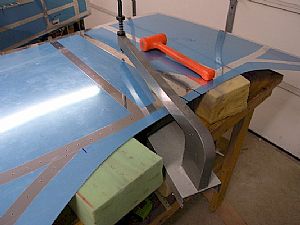
 Done! Done!
No dips, jeeeeesss' right. Time to sand the edges.
|
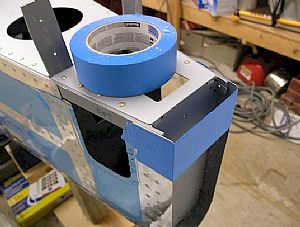 OK, that's it... OK, that's it...
Everytime I walk around the end of the fuselage, my belt buckle tries to catch the fuselage skin that sticks out past the last bulkhead. This time I almost bent the skin. So I put several layers of blue painters tape over the skin to keep me front snagging and bending it.
|
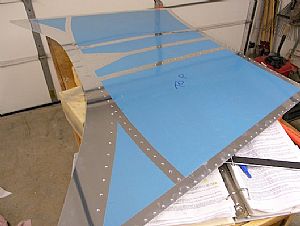
 Time for dimple the most aft top skin Time for dimple the most aft top skin
Same drill here.
|
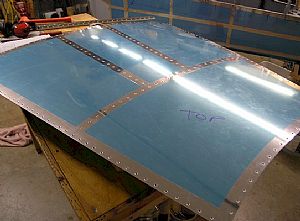 Done! Done!
Time to put both skins away for a while.
|
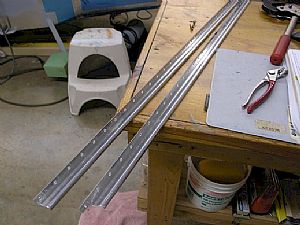 Time to dimple all the bulkheads and ribs Time to dimple all the bulkheads and ribs
Here are the j-stringers all cleaned up, dimpled and ready for primer.
|
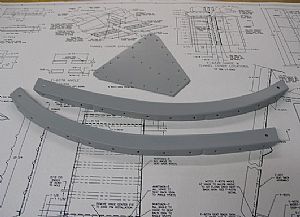 Dimpled and primed the rest of the parts Dimpled and primed the rest of the parts
I had to use Averys vise-grip dimplers on the 2 curved ribs.
|
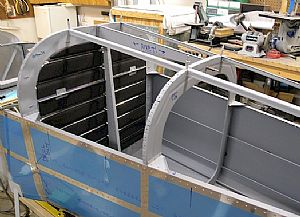 All the holes are dimpled and primed now All the holes are dimpled and primed now
I also stored the skins away overhead and will install them after all the inerds' of the fuselage are put in. Notice the baggage back panel? I put strips of sound proofing on it between the dips. This stuff is 1/4 inch thick and feather light, so I'm not concerned about the added weight.
|
Home Previous Entry Next Entry Back
|


