RV-9A: Seats and Seat Floors - 10/12/2009
Home Previous Entry Next Entry Back |
Share on:

|
|
 More work on the seat backs More work on the seat backs
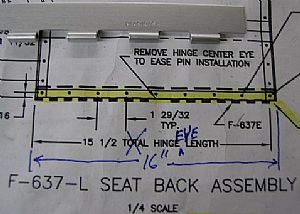
I started with the bottom hinges and almost cut them too short. The drawing is misleading (almost wrong). It says that the total hinge length is 15 1/2 inches. This measurement is referring to the length of the eyes of the hinge not the hinge tab. The "total length" of the hinge is actually 16 inches (the whole hinge, tab included).
|
 A close-up A close-up
The measurement in the drawing is accurate when you see that the arrow is showing the distance from one hinge eye to another. Another measurement should be added for the overall length of 16 inches for the length of the hinge tab.
|
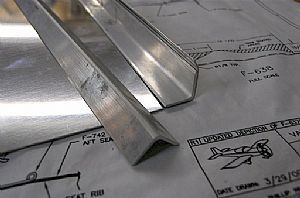 Fitting the top angle to the seat skin Fitting the top angle to the seat skin
I spent quite a long time at the scotch brite wheel rounding off the outside bend in the angle pieces to get a tight fit of the angle piece into the bend of the upper seat skin.
|
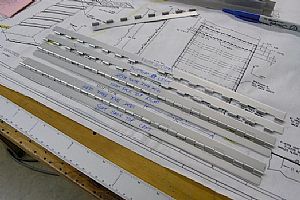 Cut the rest of the hinges Cut the rest of the hinges
There they be...
|
 Drilled the holes in the Seat Back hinge Drilled the holes in the Seat Back hinge
No biggy here. This hinge material is very delicate. You have to be careful not to bump into anything while carrying it around. It will bend easily.
|
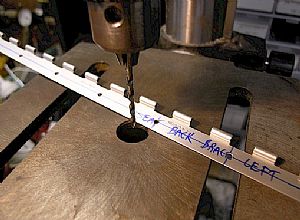
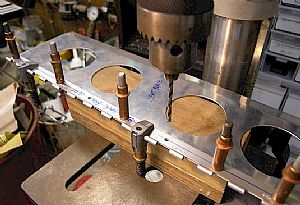 Drilled the hinge holes into the seat back brace Drilled the hinge holes into the seat back brace
I used a block of wood to support the seat back brace while I drilled the holes, using the hinge as a drill guide.
|
 Drilled the inner holes of the side angle into the seat back Drilled the inner holes of the side angle into the seat back
I decided to drill the holes into the side angles that didn't have any angles or hinges associated with them. I drilled those holes later when I drilled the top and bottom hinges and angles into place.
|
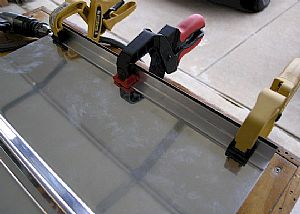 Clamped the top beveled angle into position Clamped the top beveled angle into position
Now to mark the holes and drill them.
|
 Done! Done!
|
 Now for the seat back brace hinge Now for the seat back brace hinge
This seat has a ton of measurements in the drawing. I wore out a path in the concrete to the plans, double and triple checking my measurements. Here I've drilled the hinge into the seat back.
|
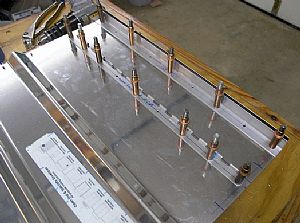
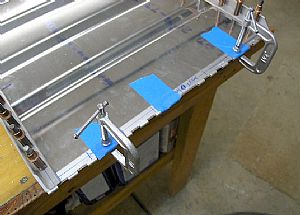 Getting the bottom hinge and angle ready for drilling Getting the bottom hinge and angle ready for drilling
Here I've taped the hinge into place and clamped the angle onto the back of the seat back.
|
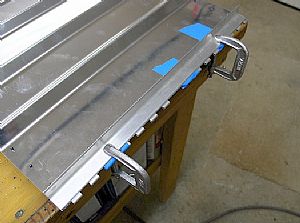 Here's the angle clamped in place Here's the angle clamped in place
Now to drill everything.
|
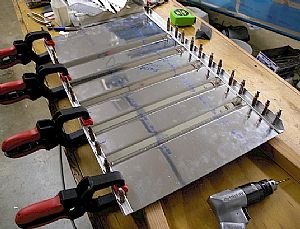
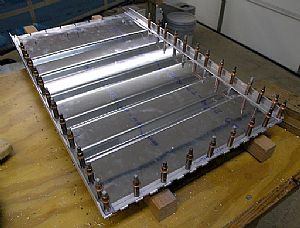 Everything is drilled now in both seats Everything is drilled now in both seats
Now for deburring, priming and riveting.
|
Home Previous Entry Next Entry Back
|


