RV-9A: Ailerons - 8/4/2007
Home Previous Entry Next Entry Back |
Share on:

|
|
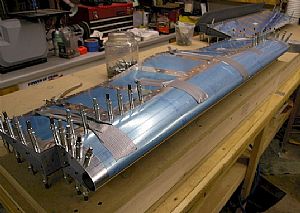 Started clecoing the leading edge skin to the spar Started clecoing the leading edge skin to the spar
I started off putting duct on the aileron skins and pulling the leading edge skin down to the spar a little at a time. Then I started putting in clecos, starting the leading edge ribs and then moving across the spar on each end until I finished in the middle of the spar.
|
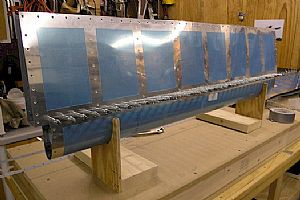
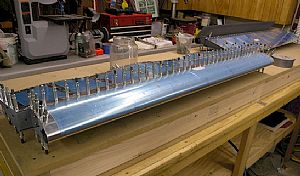 Tah dah! Tah dah!
Boy howdy... That was a little tough. You'll notice that the trailing edge of the top and bottom skins are doing the "wave". From what I have seen on the other builders websites, this is normal, however disconcerting.
|
 Riveted the A-904 nose ribs Riveted the A-904 nose ribs
I used my small no-hole yoke on my Avery hand squeezer to put these rivets in.
|
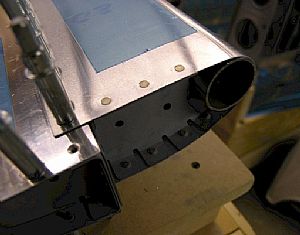
 Blind riveted the A-909 counterbalance to the A-901A nose skin Blind riveted the A-909 counterbalance to the A-901A nose skin
I must have done a decent job of drilling these holes because it was hard to get the pop-rivets into the holes. I had to drill out the holes a little to get the pop-rivets in. Here's the scary part. The instructions say "For a nicer finish you can use a small hammer and tap the top and bottom edges of the rivet heads down flush to follow the tight radius of the skin." I don't about you, but whacking your beautiful creation with a hammer just feels weird. Nevertheless, I gently tapped the top and bottom of the pop-rivet heads and easily formed each rivet to the rounded contour of the leading edge skin.
|
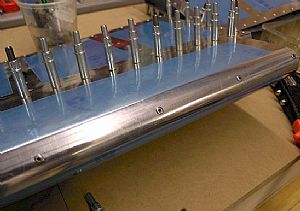
 Ready to rivet the skins to the spar Ready to rivet the skins to the spar
I put one of the ailerons into the 2 jigs. Momma just got home. Time to quit working. I'm pooped anyway. Tomorrow I will start riveting the skins to the spar.
|
Home Previous Entry Next Entry Back
|


