| Howdy Ya'll |

|
|
Do what yer' Momma said...
Go Play! |
|
| Disclaimer |
|
This website contains Affiliate Links. Please read the Disclosure for details.
|
|
|
|
Fiberglass 101 |
Share on:


|
|
|
Filling in the Cracks
I've decided to share what I have learned in my crack filling episodes where the fiberglass
meets the metal, namely the elevators, rudder and horizontal stabilizer. I don't claim to be
an expert, but an adventurer, picking the brains of those who have covererd their cracks (he-he)
in the past. You'll notice that the pictures below are from different parts of the airplane.
That's because I'm the world's worst at remembering to take pictures!
Let's get started:
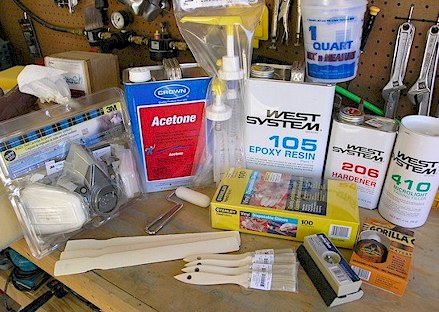
I ordered my fiberglass supplies from
Amazon.com
and Aircraft Spruce.
I also got a few other items from Lowes (aircraft supply). Here's my list of goodies:
3M - Dual Respirator
Acetone (for resin cleanup)
West System Pumps (for preset mixing amounts)
West System 105 Epoxy Resin
West System 206 Slow Hardener (not to be confused with Viagra)
West System 410 Microlight Fairing Filler
Disposable Vinyl Gloves
Small Cotton Roller (to squeeze out air bubbles under fiberglass cloth)
Several "Throw away" paint brushes
Plastic Sanding Block
One box of pop-sicle sticks (to stir things up)
Several Quart mixing cups (Lowes or Grocery Store)
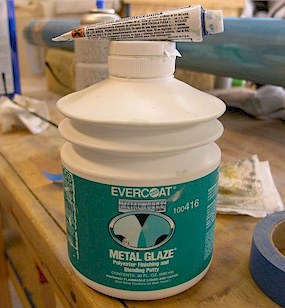
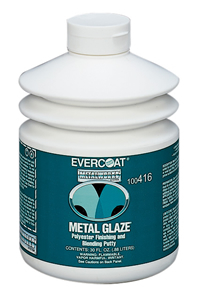
I got this Evercoat Metal Glaze from Amazon.com. It's expensive but works
nicely as a filler. WARNING: Wear a really good auto paint mask when working with this stuff.
The ingredients are very toxic.
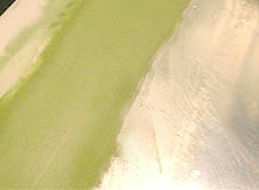
First I scuffed up the surface of the aluminum and fiberglass tips with a scotchbrite pad
where the fiberglass tip and aluminum meet and then cleaned it off with lacquer thinner.
Then I cut a thin strip of
1.5 oz lightweight fiberglass cloth
and layed it over junction
between the aluminum and the fiberglass tip.
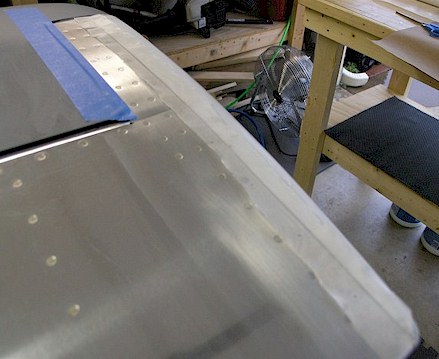
After putting a coat of resin on the scuffed surface, I layed the cloth down over the gap and
gently tapped it down with a brush until the cloth was totally immersed in the resin. After it
dried (usually in 24 hours), I sanded down the surface to smooth down the bumps.
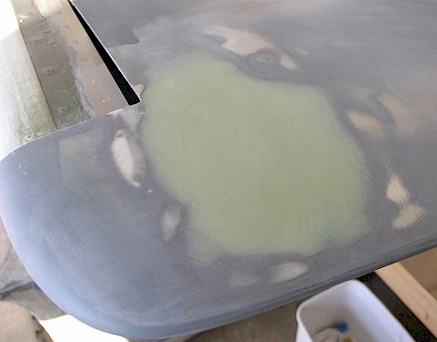
Then I mixed up a small portion of the Evercoat Metal Glaze (be sure and were a good auto paint
mask!). Then I used a plastic spreader and put an initial thin coat over the resined area. This
stuff starts setting up right after you mix it. You have maybe 3 minutes before it is unworkable.
Remember, the more you put on, the harder you have to work to sand it off later.
Wait 20 minutes after applying the Evercoat to sand to surface. Use 200-300 grit sandpaper wrapped
around a flat piece of wood. NEVER sand without the piece of wood. If you sand just using your
hand, you will get dips in the finish. Use your own judgment on the grit of the sandpaper. The
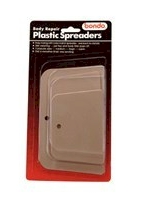
stronger the sandpaper, the more scratches you have to fill in later. Here's a picture of the
plastic spreaders. Be prepared to put to apply several
applications of the Evercoat filler until you get the results you want. Each thin application
is to fill in low spots from the previous application. If you have ever worked with taping and
bedding sheetrock, it is very similar.
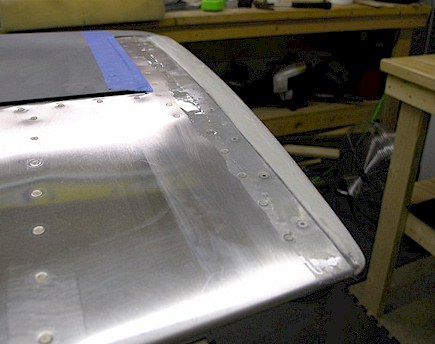
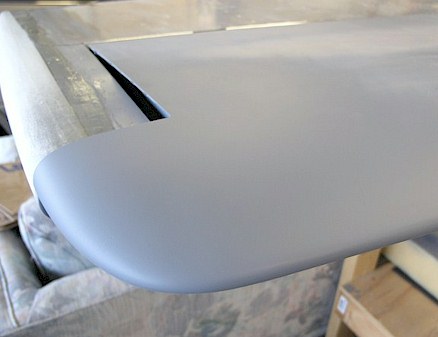
Use sandpaper wrapped around a flat piece of wood and it will give you a nice uniform surface.
Be sure and feather the filler out to the edges into the aluminum. It should look like the
picture below when you're done.
Now for the ultimate test. When you get to the point when you think it's perfect, put a coat of
primer (same stuff you've been using on your aluminum) on your creation. Then stand back with your
project between you and some outside source of light (like an open garage door). Then you can see
what a crappy a job you did! In other words, be prepared to add more filler! Just lightly sand it
down and apply more filler and sand some more. You don't have to remove the primer, just rough it up.
Repeat this process until your satisfied OR you want a beer!
Happy sanding!
|
|
|
 |
HELP FOR THE HOMEBUILDER
A website designed for Van's Aircraft Homebuilders, helping them find the
information they need to build the most dynamic aircraft in the world.
|
|
|
| The "cover your butt" section |
|
This website was built to document the construction of an RV-9A in
compliance with the FAA requirements needed to certify the aircraft. Any experiences and/or comments are by
no means to be considered as instructions on how to build an RV-9A or any other aircraft. Please read our Disclosure for details.
|
|
|
This is website is owned and published by OpenAirNet, Inc. © 2015. All rights reserved.
|
|
|